Choux craquelin
Share
Download Your Free Recipe
Choux craquelin
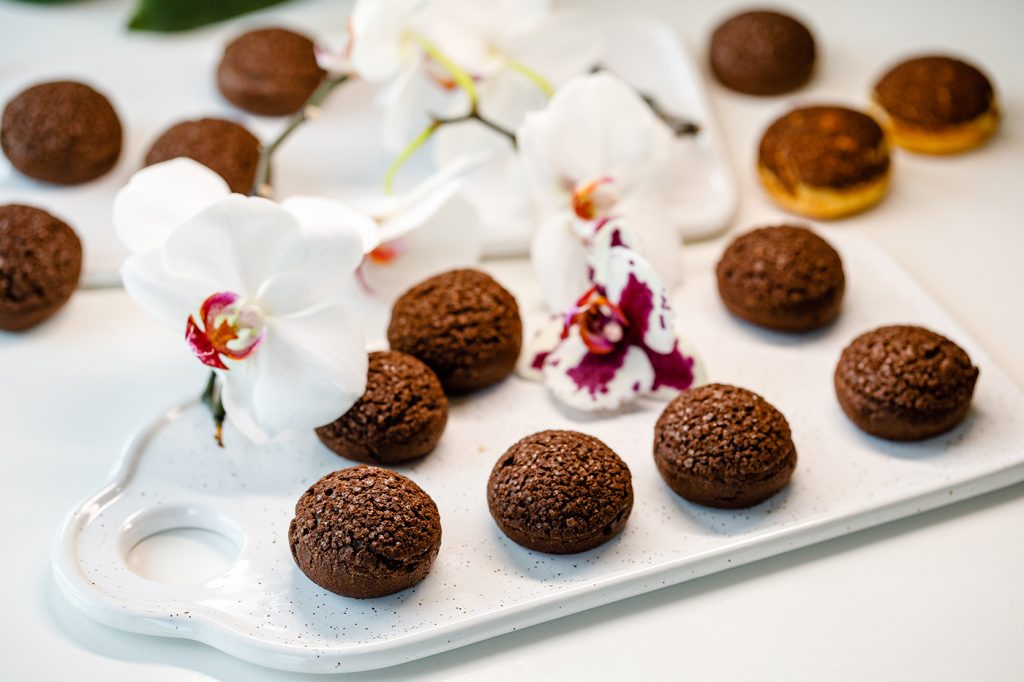
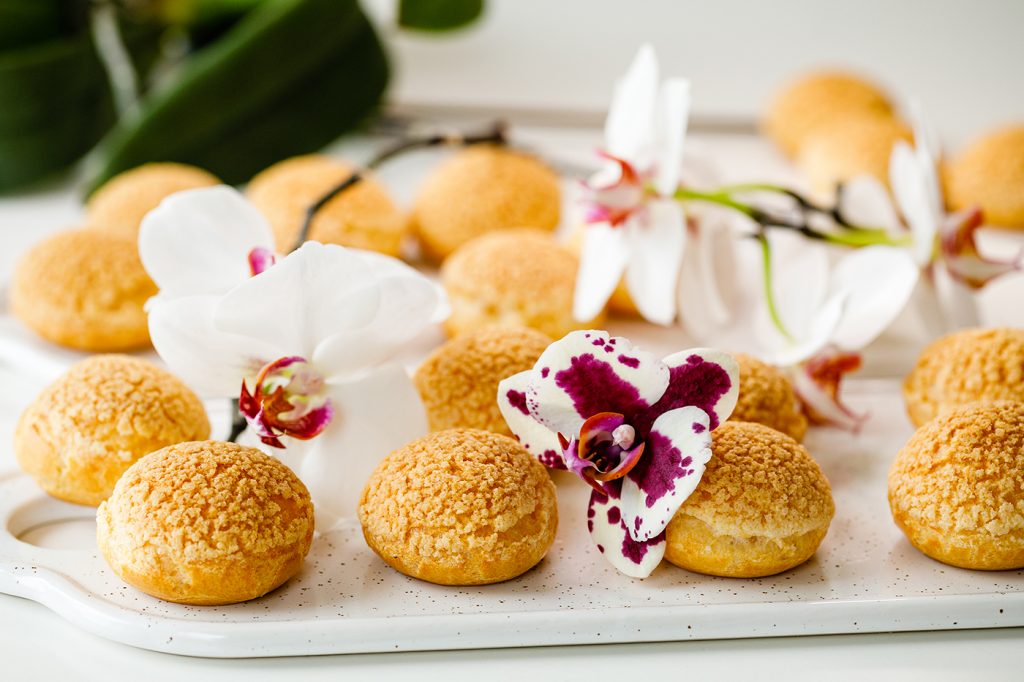
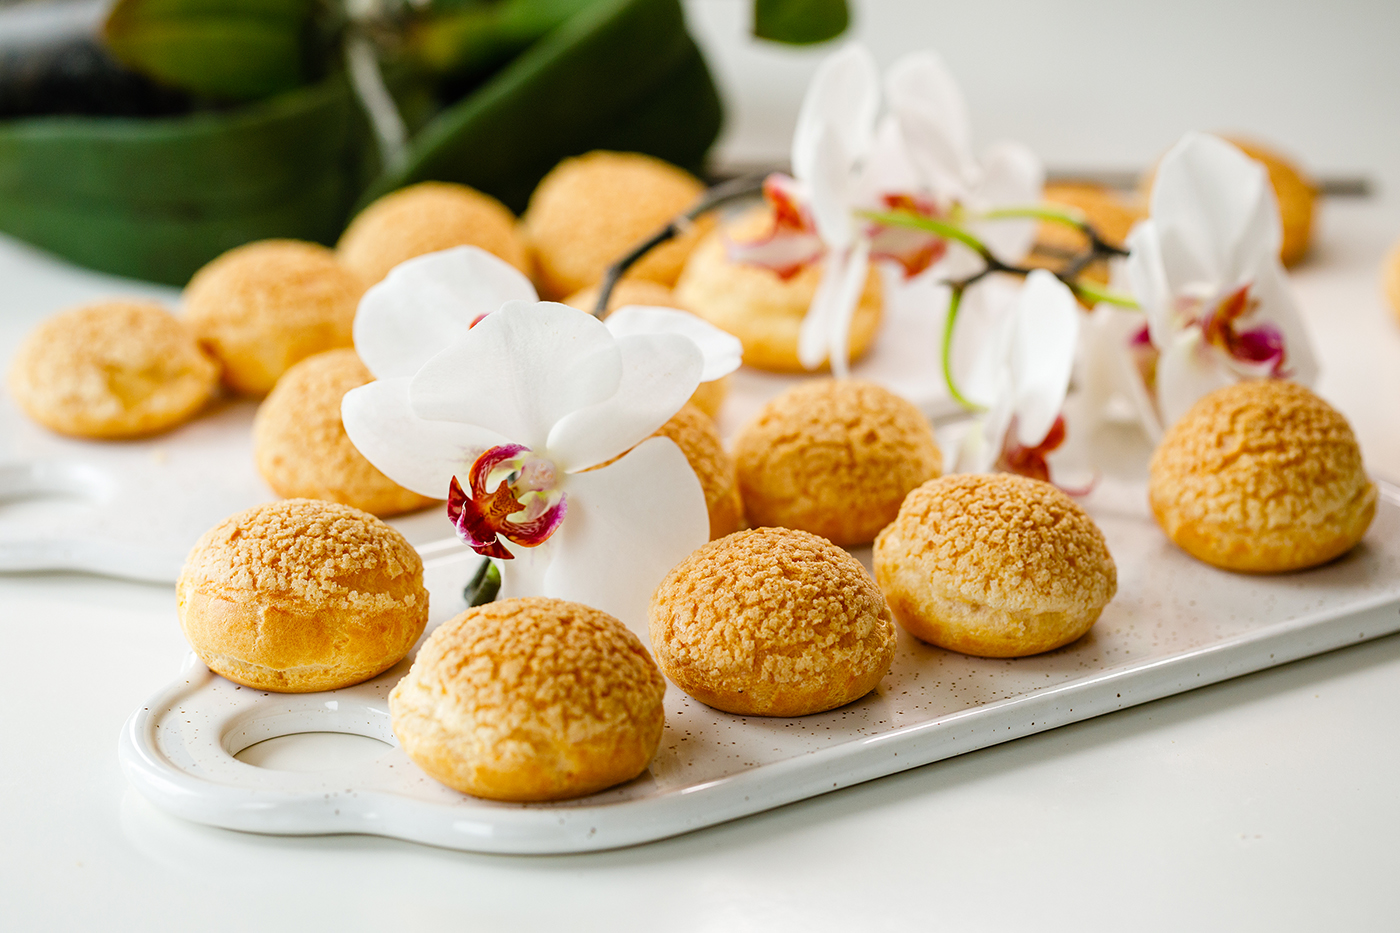
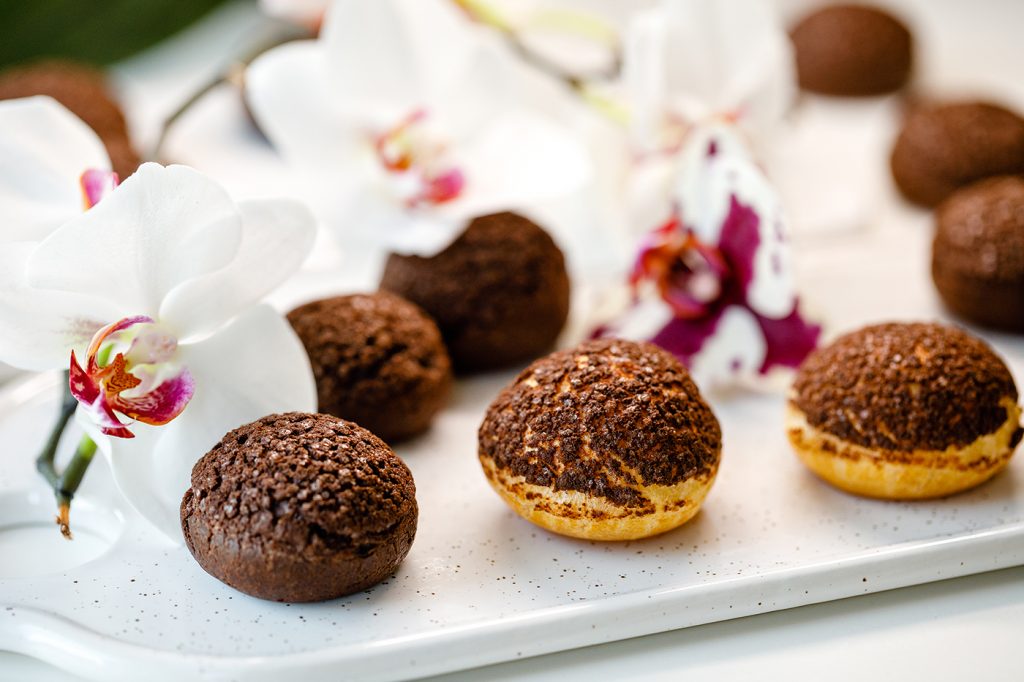
If you don’t know what a choux craquelin is, that’s okay! I tell you what it is! It is the most beautiful and tasty choux you could ever taste. It has a wonderful shape, is tasty and eye-catching! I pamper it curly choux.
I tried them for the first time many years ago, and since then I always make them. Each time I chose the most difficult way to make a dessert. Compared to a normal choux, for this type of choux you will work harder, but the results will be even more appetizing!
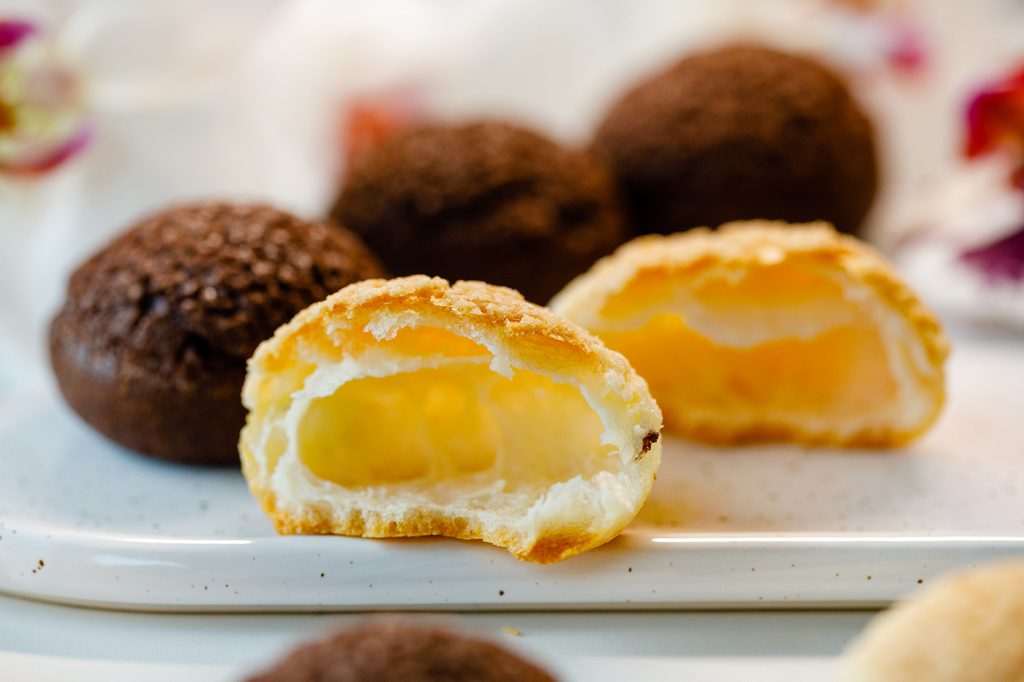
The combination between pastry and confectionery has a sublime result. Combining this choux with a vanilla cream is wonderful!
I have to admit that when I cook these crispy crust shells, half of the tray gets to my stomach! I cannot stop! I enjoy them straight out of the oven, simple, empty-no cream. I have help too … they are also the favorites of my daughter, Anisia !!!
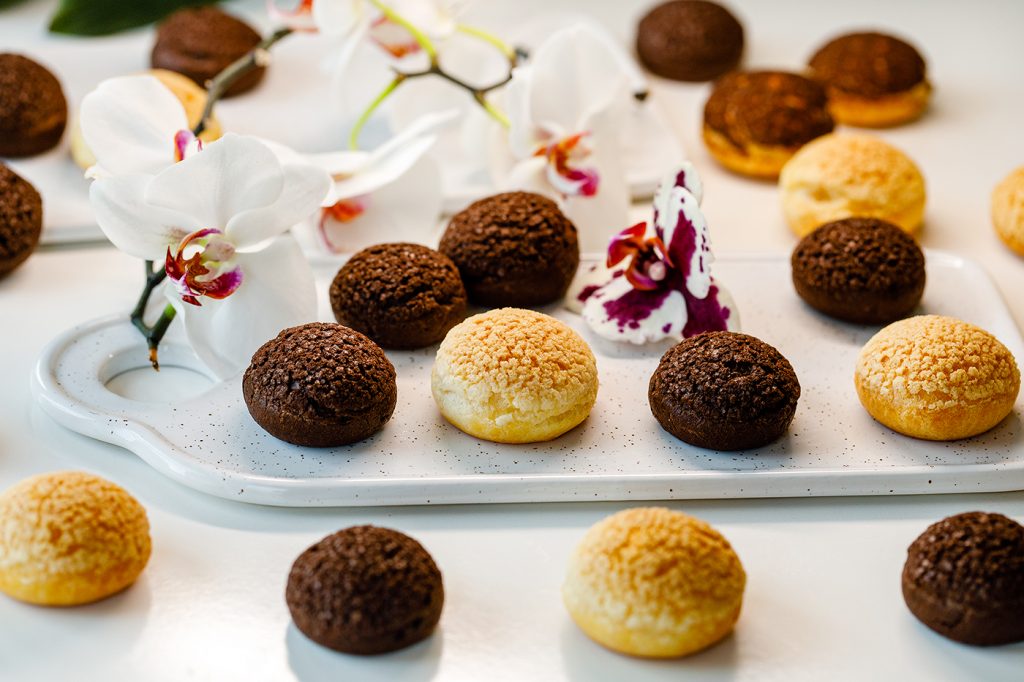
You can enjoy them, like me, simple or filled with your favorite cream. You can use them in the decoration of the cakes, you can integrate them inside the cakes or you can serve them with ice cream!
In conclusion … they are wonderful!
You have to make them too!
How? It is very simple!
I have created this recipe for you, it has exemplary pictures, step by step explanations, it will be very easy for you to make these crusty crust shells!
Choux craquelin
Ingredients for boiled dough
- Milk 100 gr
- Water 100 gr
- Butter 90 gr
- Eggs 4 pcs size M
- Flour 110 gr
- A bit of salt
- Granulated sugar 10 gr
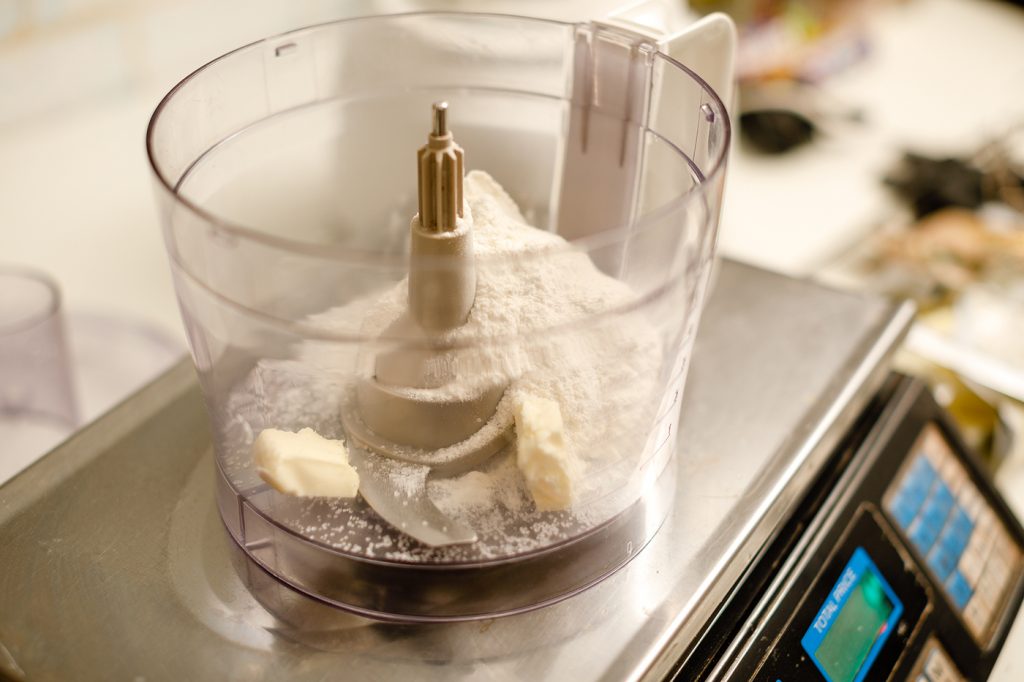
Ingredients for crispy layer
- Butter 40 gr
- Granulated sugar 50 gr
- Flour 50 gr
Work method
Crispy layer
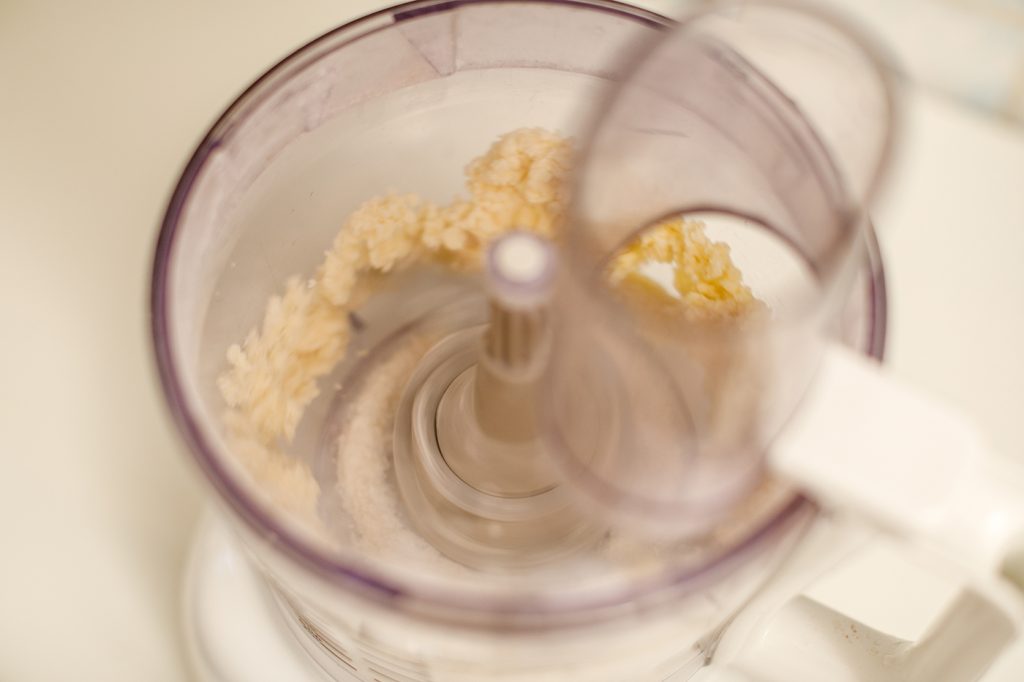
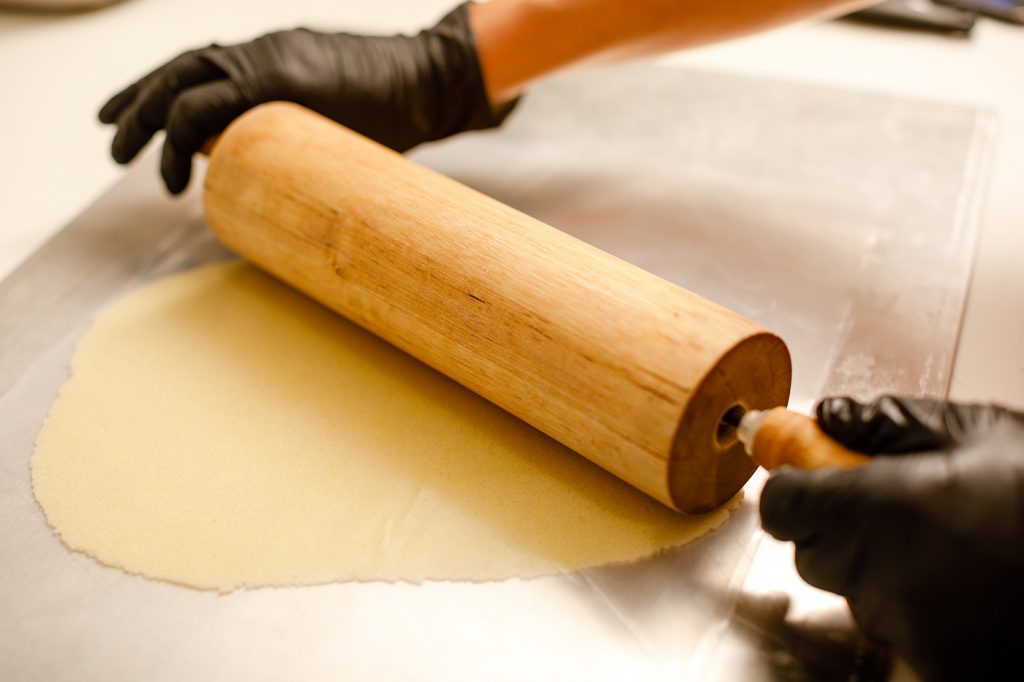
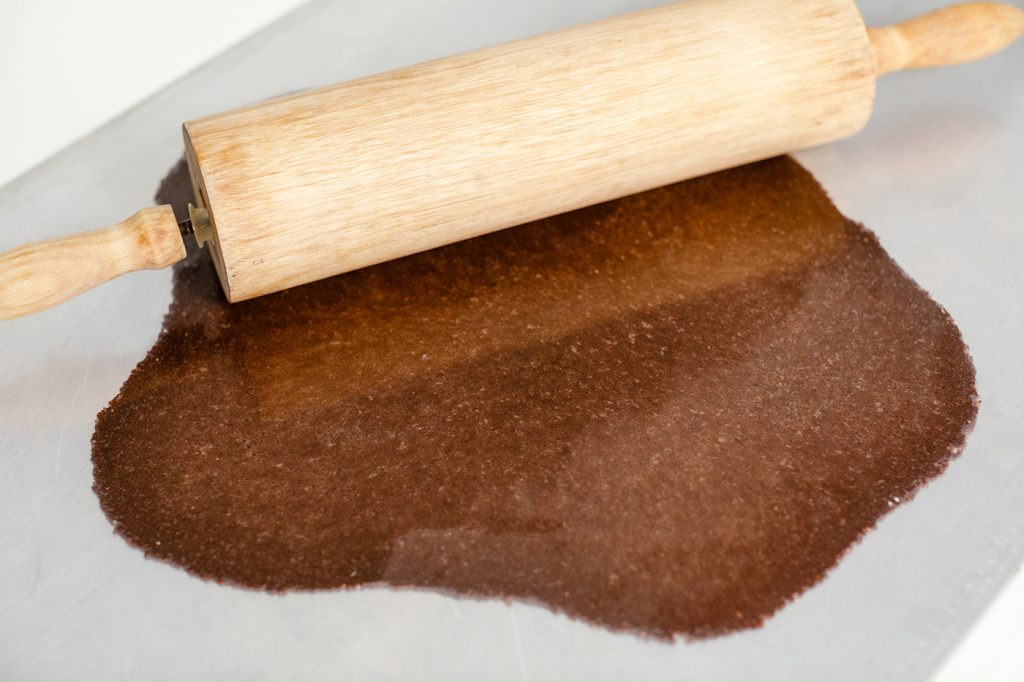
All ingredients, cold butter, flour and sugar are homogenized inside a copper. The resulting composition is transferred to the worktop and molded in the form of bulge. The resulting bulges will be placed between 2 sheets of acetophane / baking paper and will spread as a “pie sheet” with the help of a rolling pin-thickness of 0.3-0.5 cm.
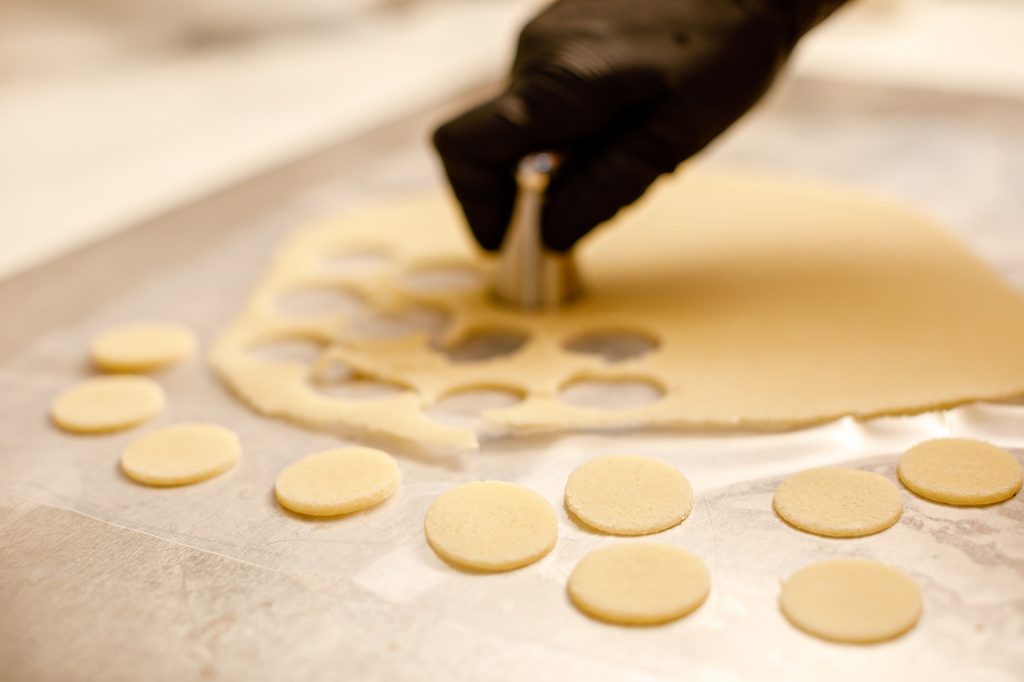
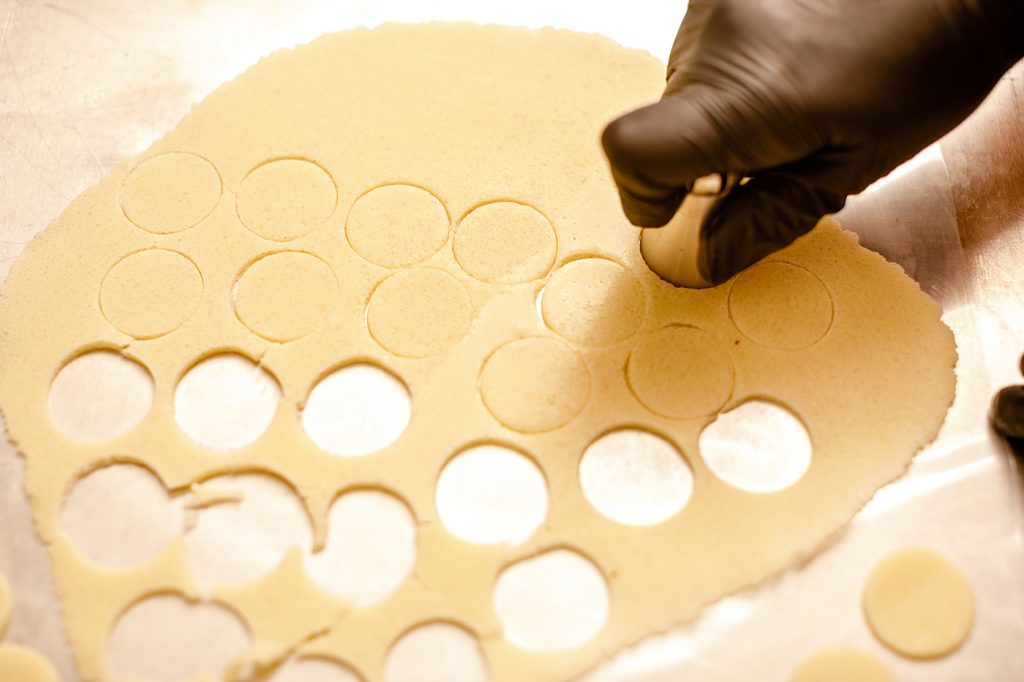
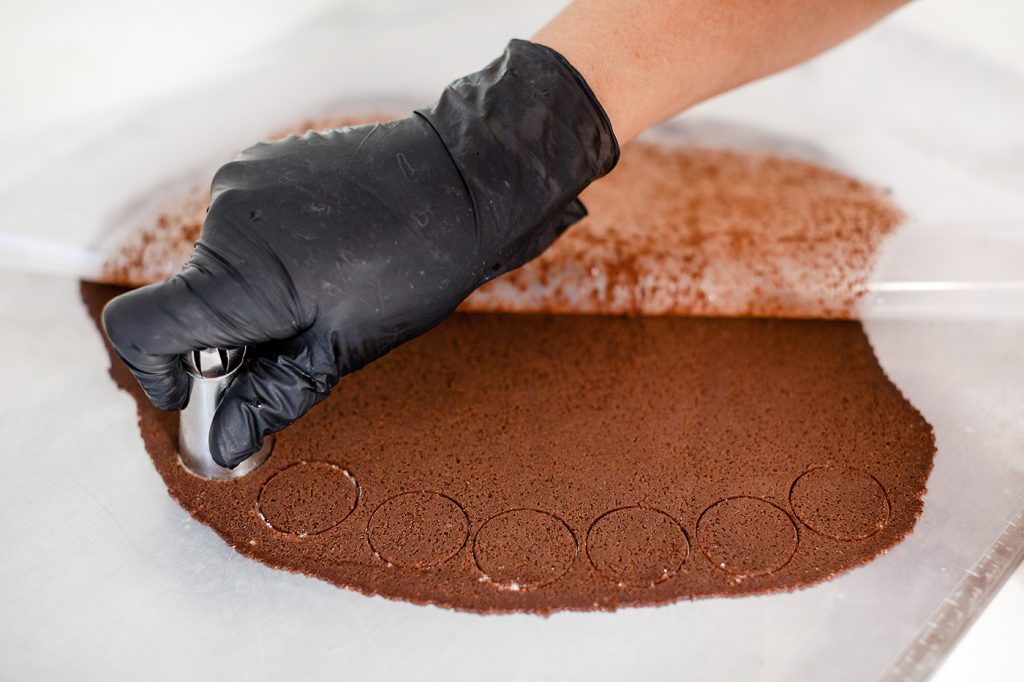
- Cut the dough with a cutter / doser. You can make circles as large as the diameter of the choux lain or larger. These cut circles, exactly still, will go to the freezer / refrigerated box until completely frozen. It would be preferable to do them one day before to make it easier for you.
- You can also proceed as it follows: the dough in the form of a bulge, spread between the two sheets, in the form of a “pie sheet”, can be frozen and cut afterwards. Both options have the same result!
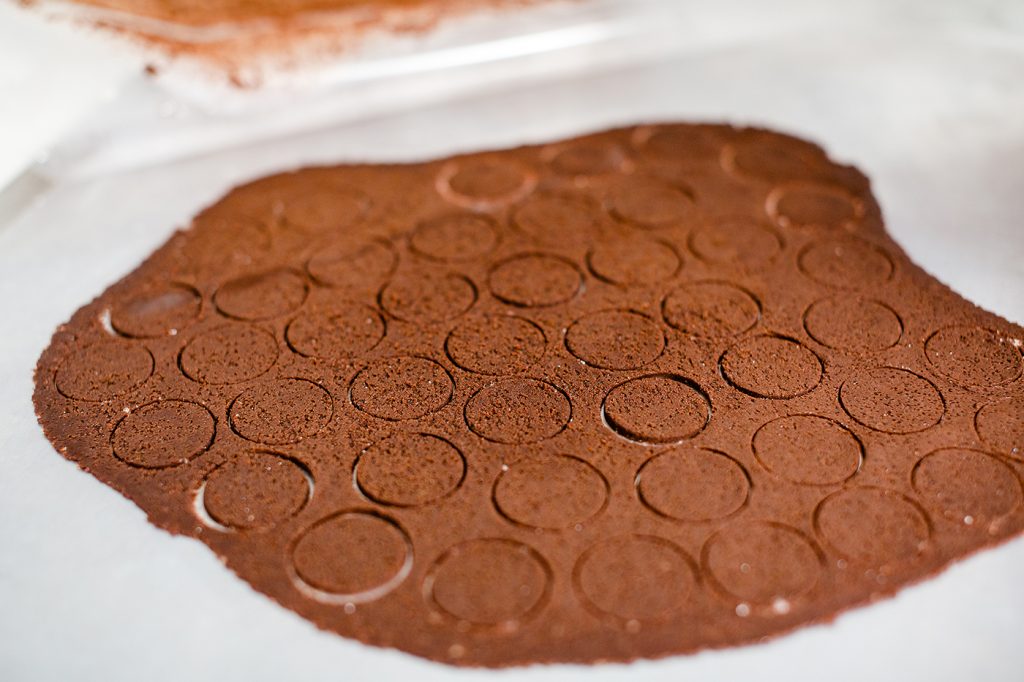
- These little circles will be kept in the freezer until you finally assemble the final dough. Don’t take them out before!
Making a crispy and cut layer after freezing!
Boiled dough
- Boil water, milk, butter, salt and cough sugar in a container. When the mixture reaches the boiling point, pour, stirring continuously with a wooden spoon / spatula, the whole amount of flour (sifted in advance). Leave over low heat and stir until the entire composition looks like a “bulge”, it will peel off the walls of the vessel and gather towards the center of the container.
- The boiled dough composition will be transferred to the mixer bowl, the pallet will be mounted and the mixer will be started at a low to medium speed. This will speed up the dough’s cooling and shorten the waiting time. Save time this way!
- Mix all the eggs in one container.
- When the boiled dough has cooled down a little, you can easily pour it into the egg mixture as it follows: the mixer should run continuously and pour a little bit of the egg composition, waiting to incorporate the poured quantity. After mixing very well, you can pour again from the egg composition and so on until you get a beautiful composition.
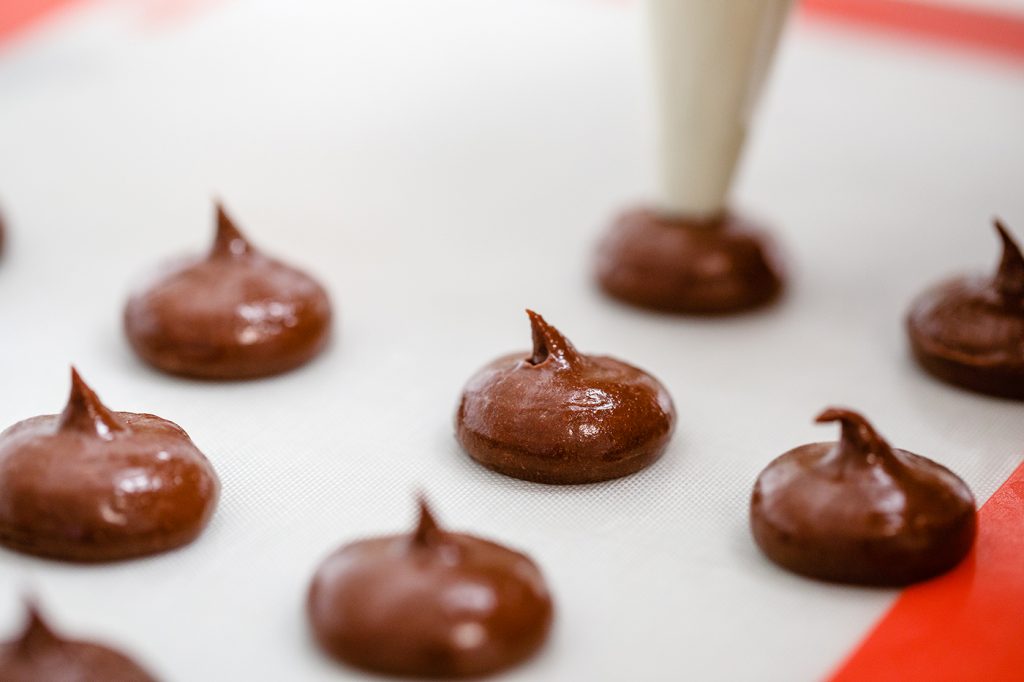
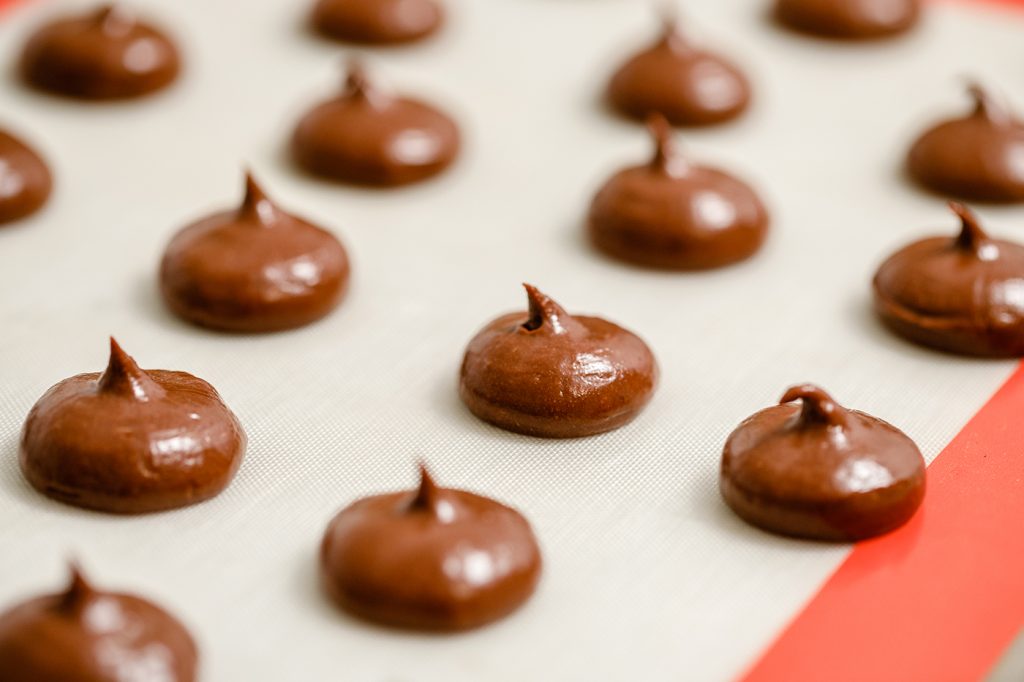
Making choux with crispy layer
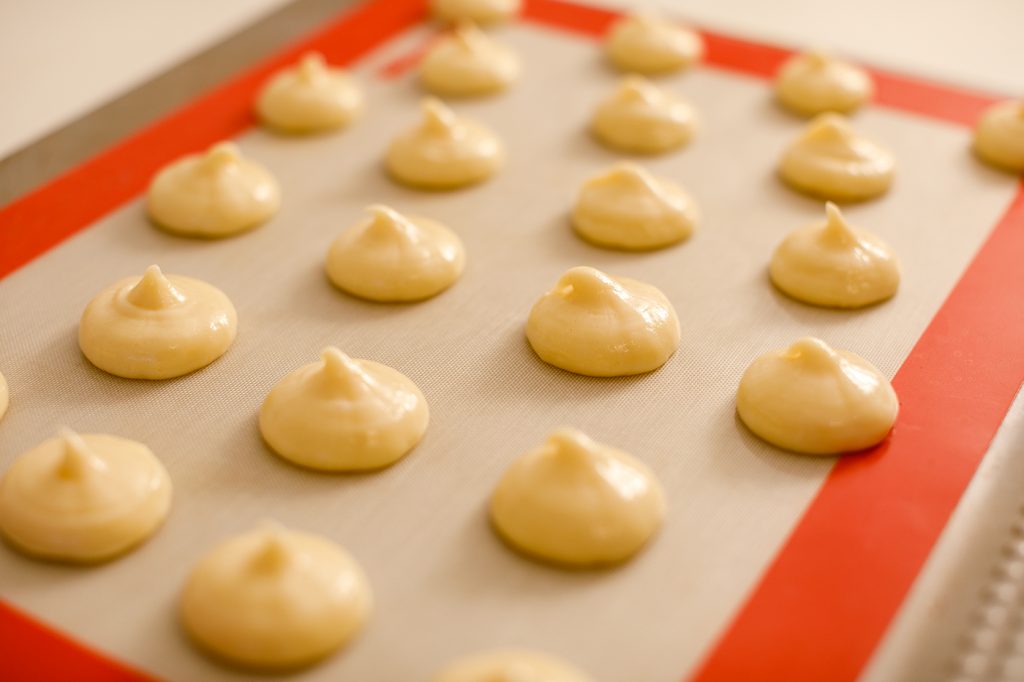
- Lay the boiled dough on a tray lined with baking paper or special food silicone.
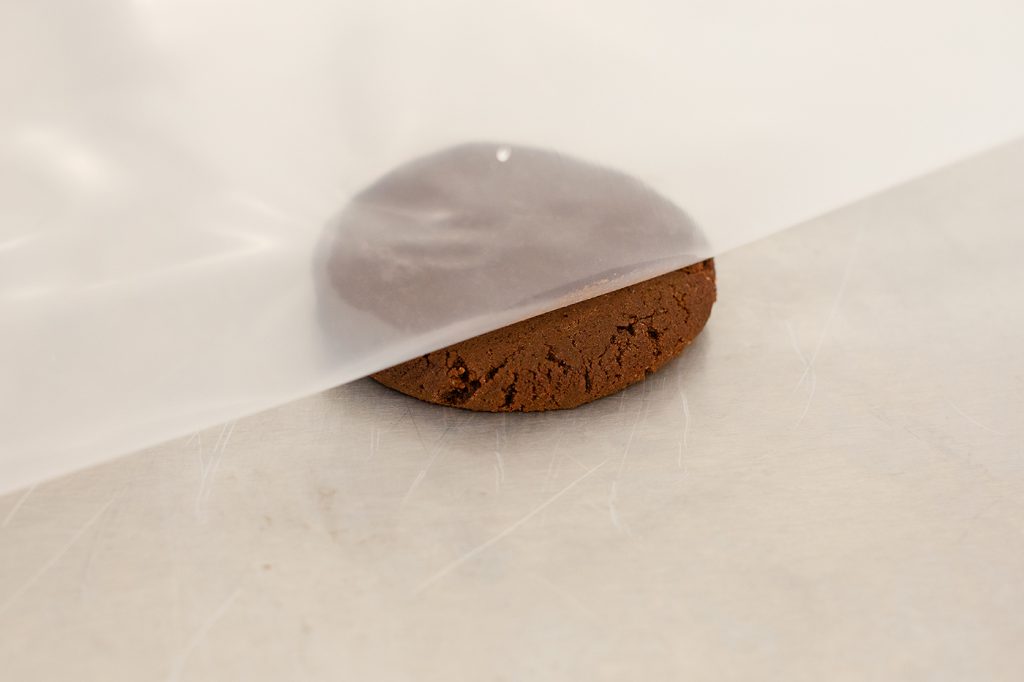
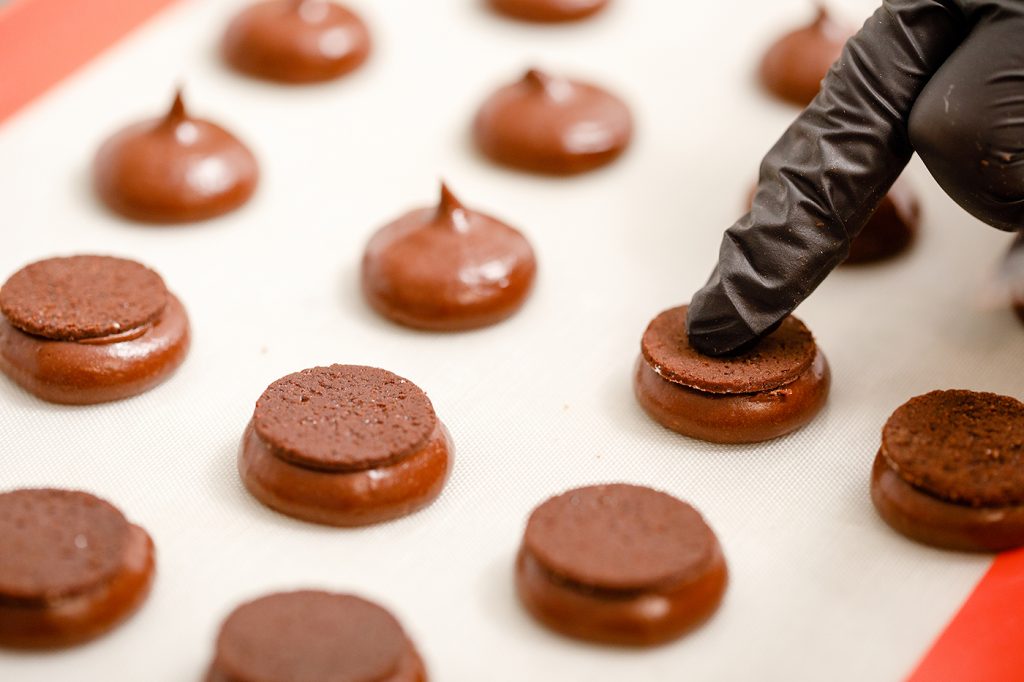
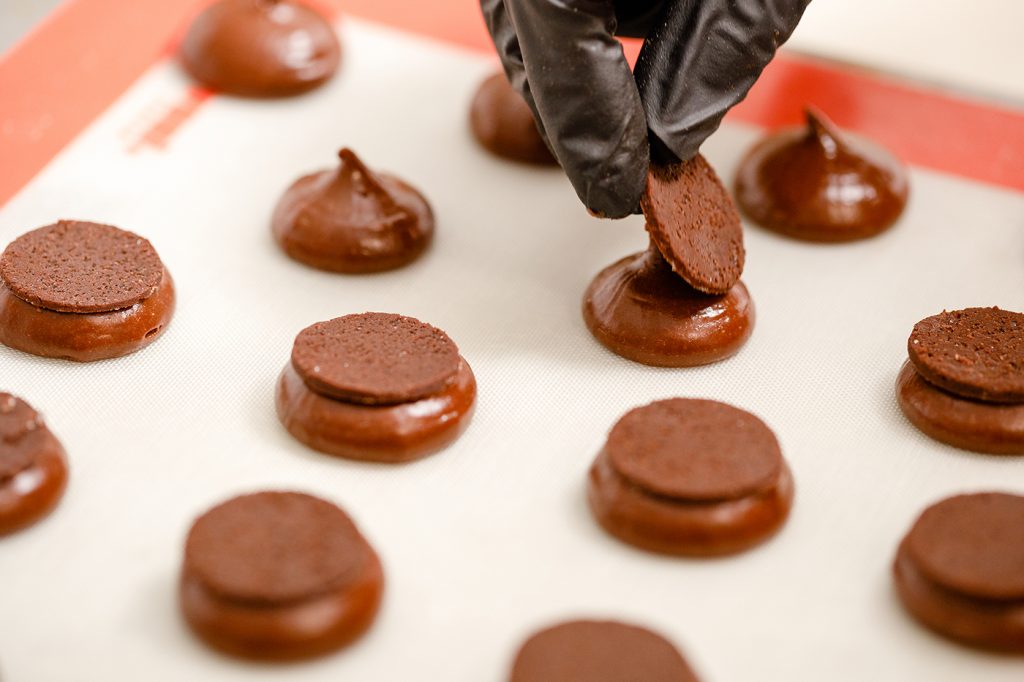
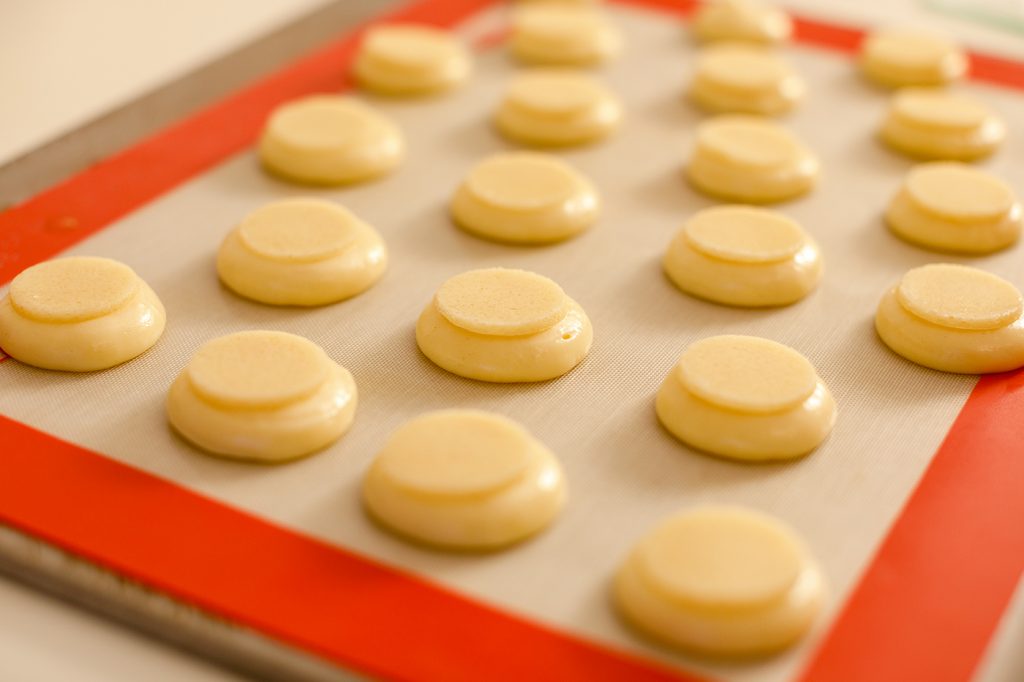
- Place the frozen discs, made of crispy dough, over the dough laid, gently pressing with your finger.
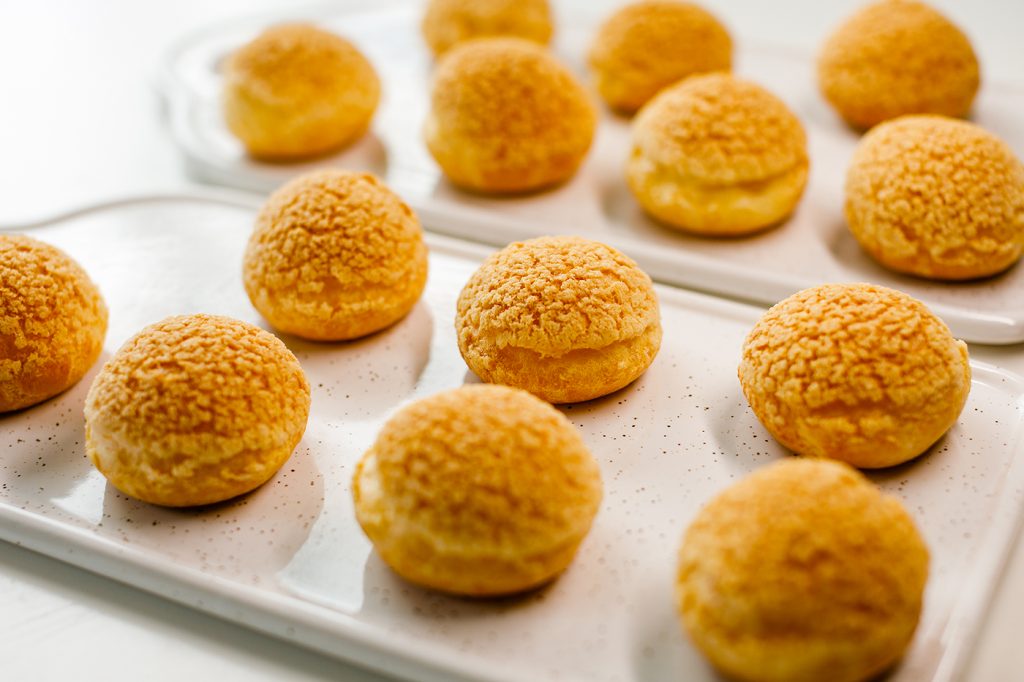
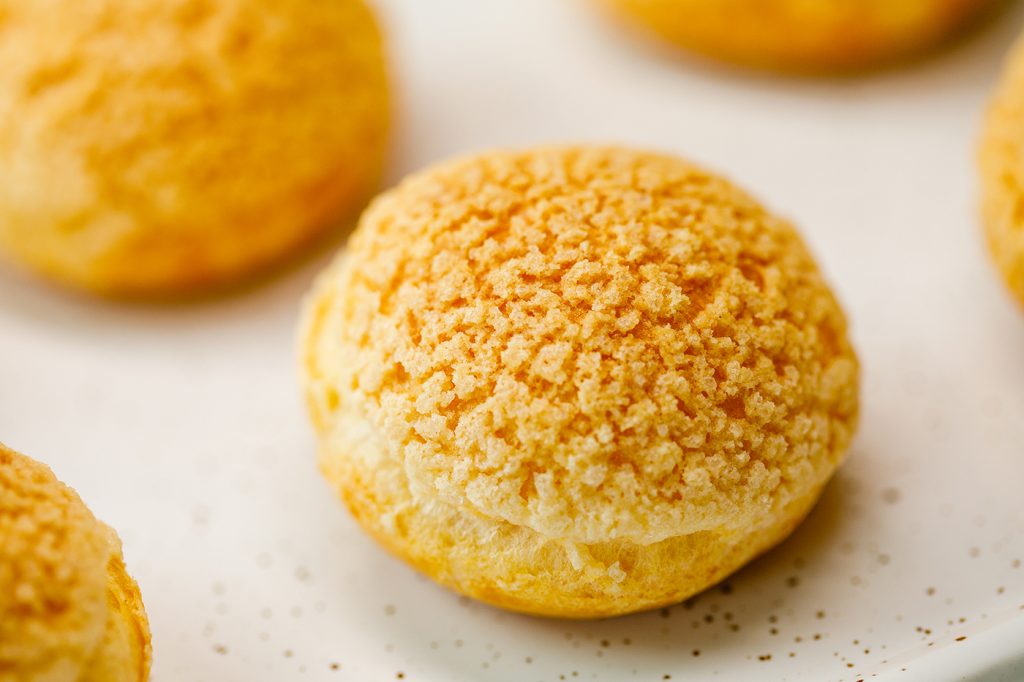
- The tray is immediately put into the heated oven at 190 degrees Celsius. Baking time depends on each oven 35-40 minutes.
How to recognize they are ready?
- Must be crispy, hard, and slightly dark in color
- If you have taken them out from the oven and after a few minutes notice that they are no longer hard, you can re-put them into the oven for a few minutes until they become hard and tender. It means that they were undercooked and so you solved the problem!
- If you have baked them correctly and for more than 2 days for example, when you want to fill them with cream, you notice that they have been slightly moistened, because you have not stored them properly, it is no tragedy. Turn on the oven at 150-160 degrees on ventilation / without ventilation and put them in for a few minutes. They will dry immediately!
- As far as the baking temperature is concerned, it can also be decreased. You can also bake at 180 degrees Celsius and guide yourself after their aspect. I think you have to visually analyze and knowing your oven is very important. There is no universal baking time. It varies by several minutes depending on the oven!!!
Tips
- Start by making the crispy layer.
- You can also use brown sugar when making the crispy layer.
- When making the crispy layer you can add hazelnuts, walnuts, peanuts.
- If you want colored choux you can use a food coloring.
- The oven must be very hot, when you start making the boiled dough you can turn on the oven.
- The crispy layer can be made early, is frozen and can be used as needed.
- All choux “donuts” are kept in a tightly sealed box / bag so they can be protected from moisture.
- If they have drawn moisture you can dry them in the oven at 150-160 degrees Celsius
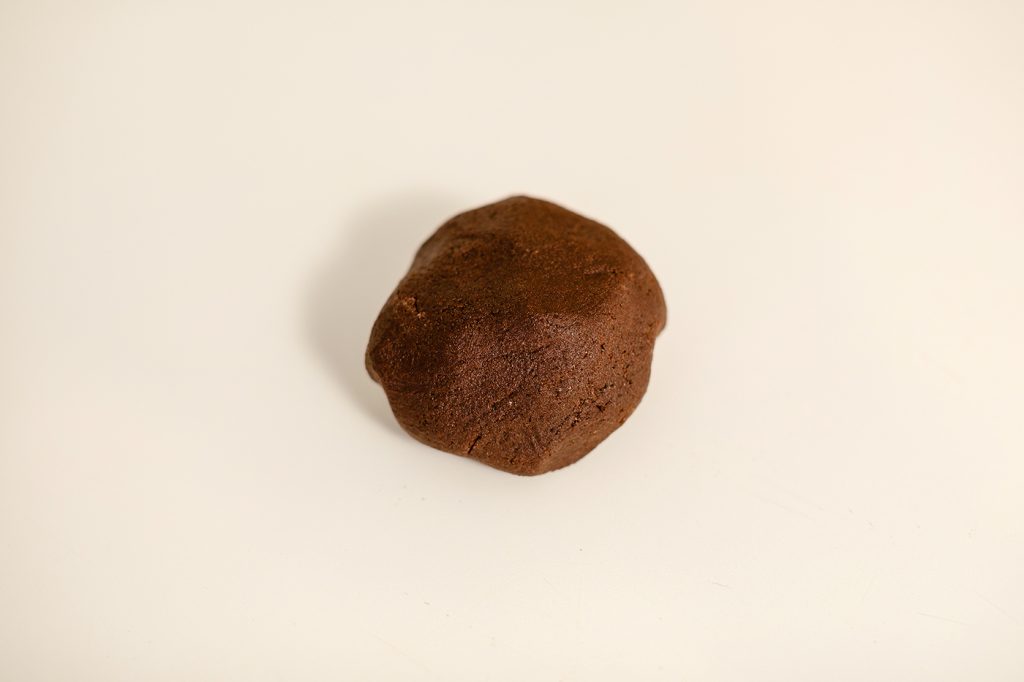
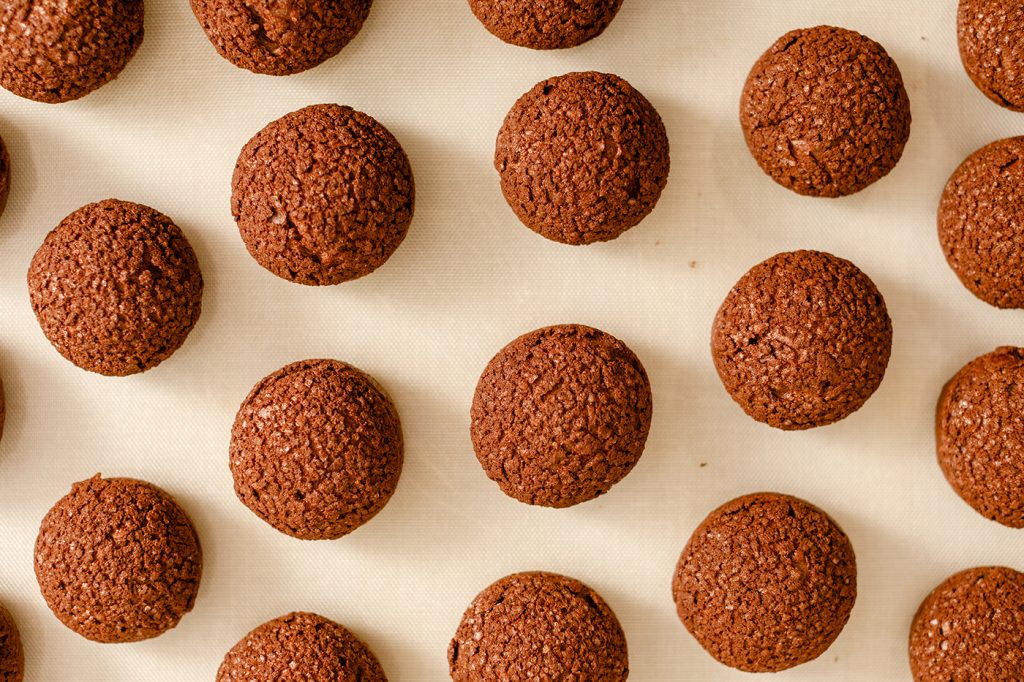
- When making choux donuts with cocoa, substitute part of flour with part of cocoa.
Download Your Free Recipe